Optimization
How to reduce wasted paper in a pattern layout
Paper savings come from placement, not shrinking. Start with correct dimensions, then compare the scattered and compact layouts page by page.
Before you start
- A pattern whose dimensions have been checked
- The intended paper size and orientation
- Enough workspace room to inspect piece boundaries
Step-by-step
- 01
Set paper before optimizing
Choose the real sheet size and orientation so the page boundaries match the printer you plan to use.
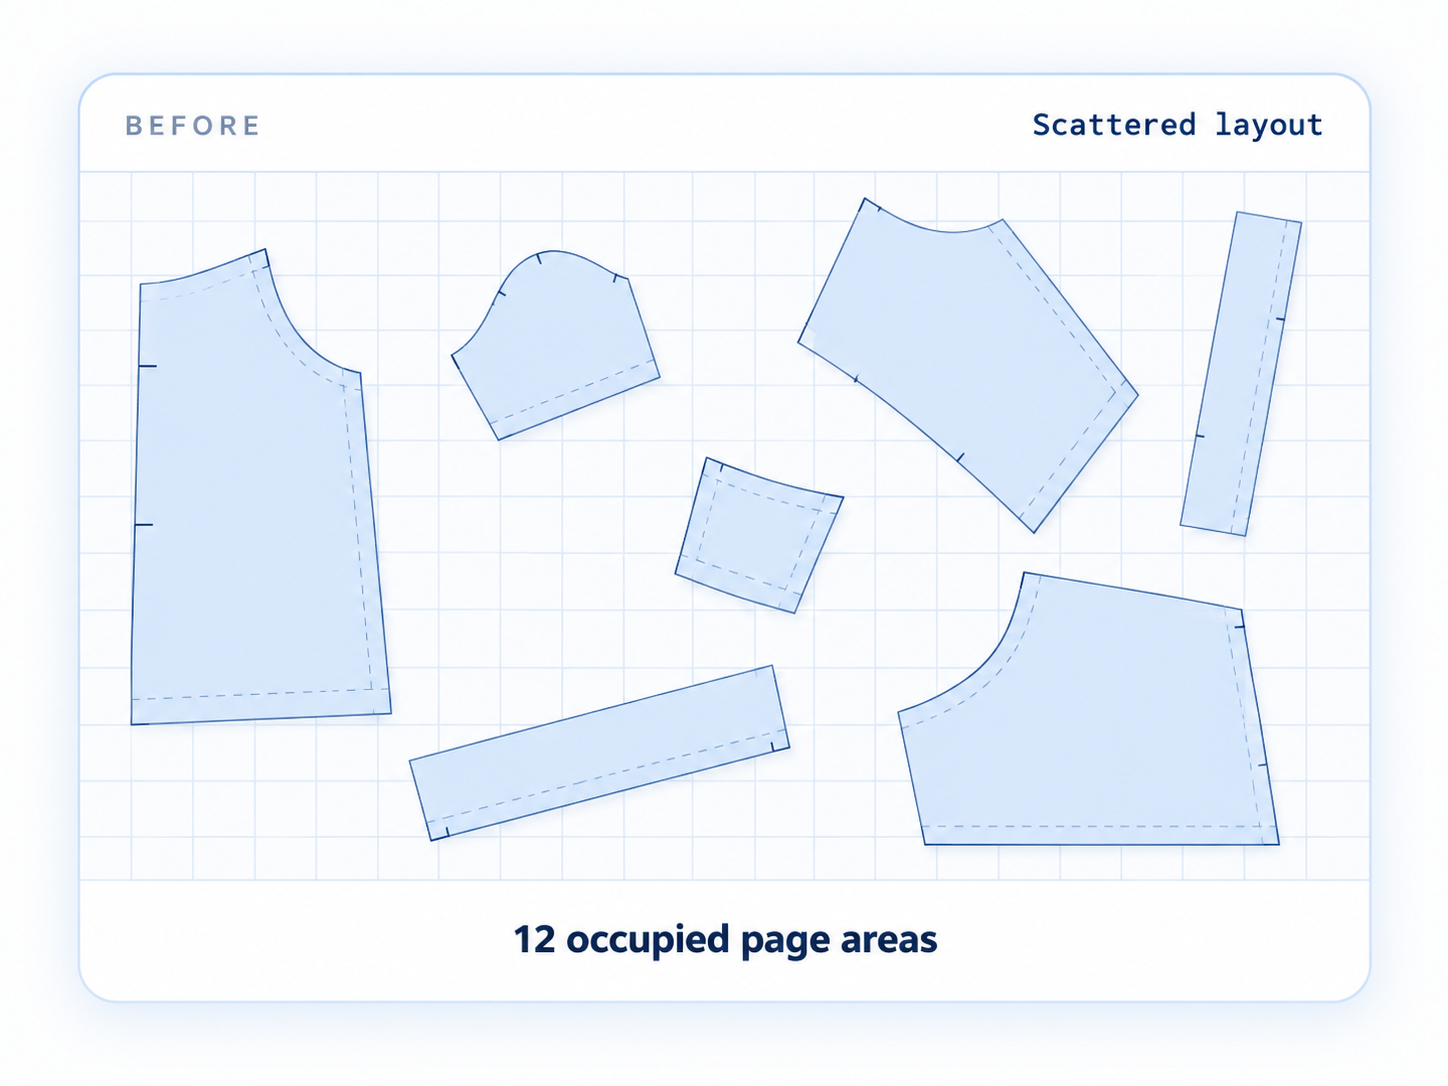
Static preview—ready for a future product clip - 02
Arrange important pieces first
Move or rotate pieces that have a required order or orientation. Lock anything that should not move.
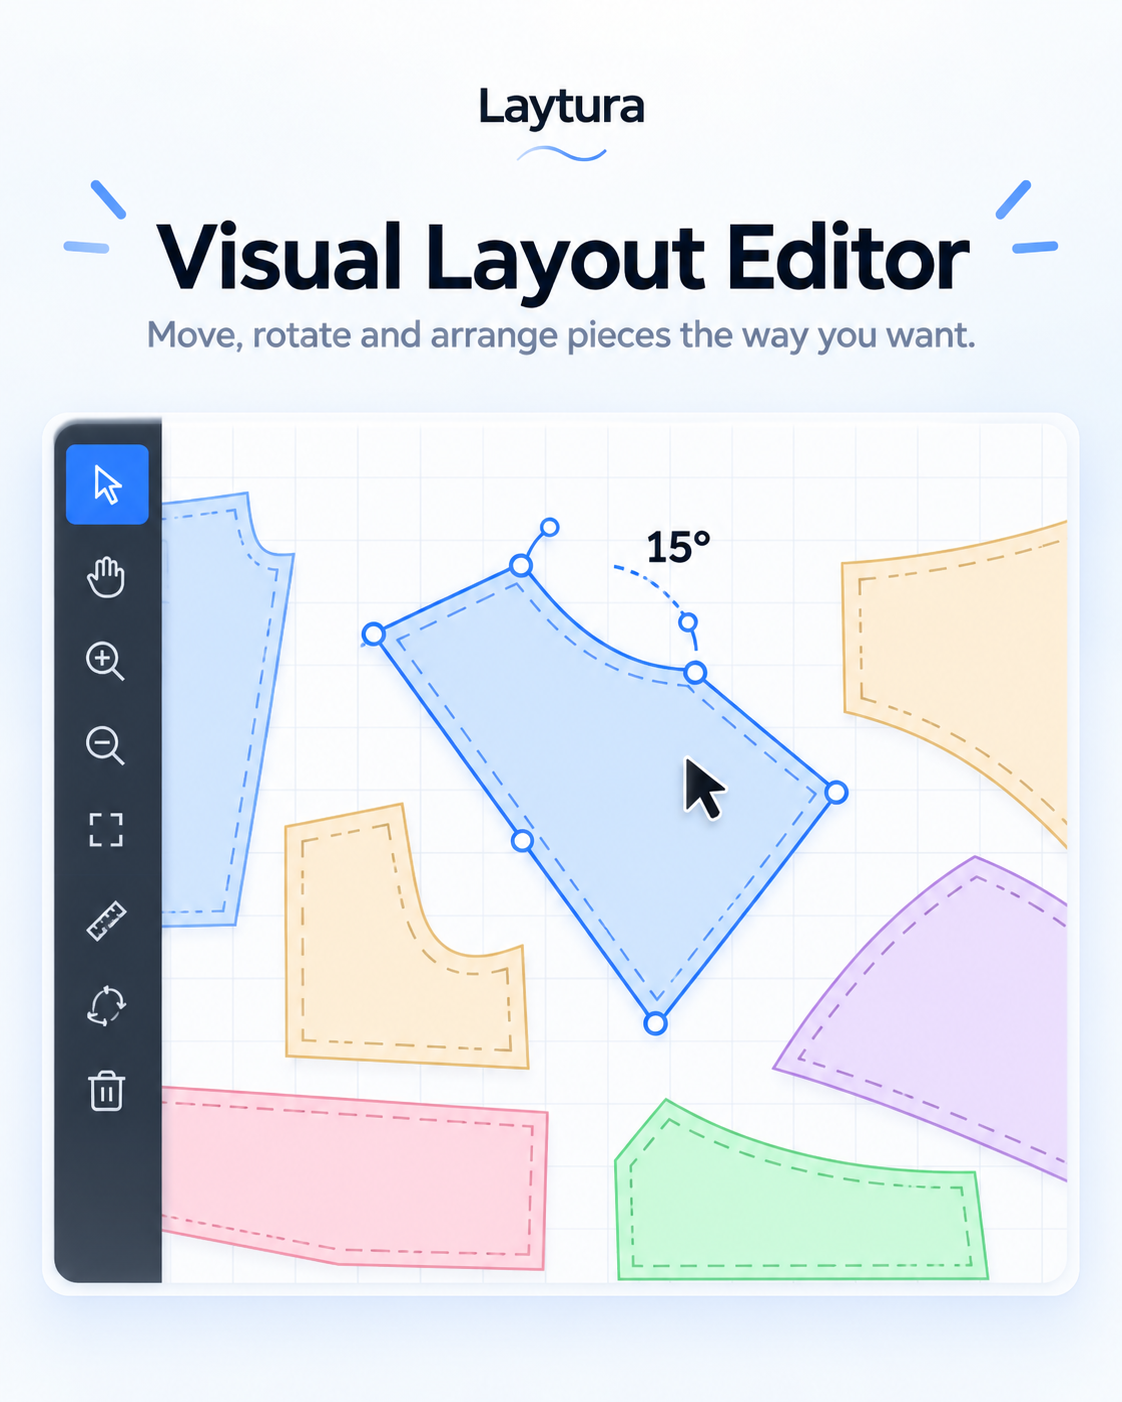
Static preview—ready for a future product clip - 03
Try Optimize or Compact
Run the relevant layout tool, then inspect the proposal instead of assuming fewer gaps always means a better sewing workflow.
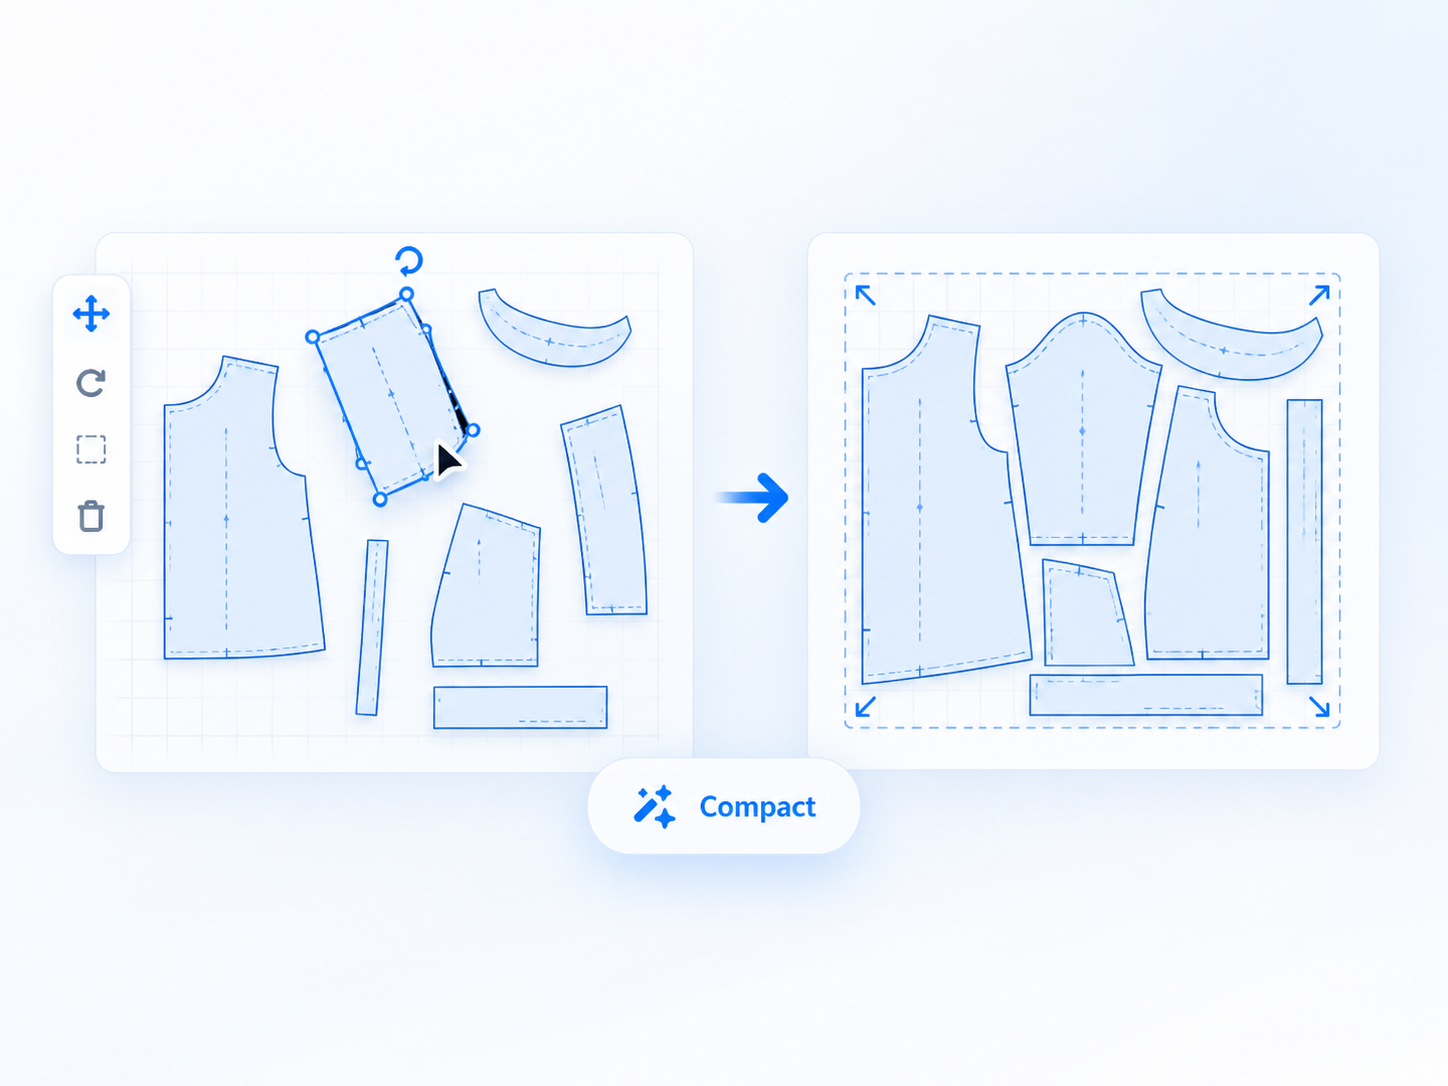
Static preview—ready for a future product clip - 04
Compare occupied pages
Review page boundaries, overlaps, and blank sheets. Undo the result if it creates awkward assembly or conflicts.
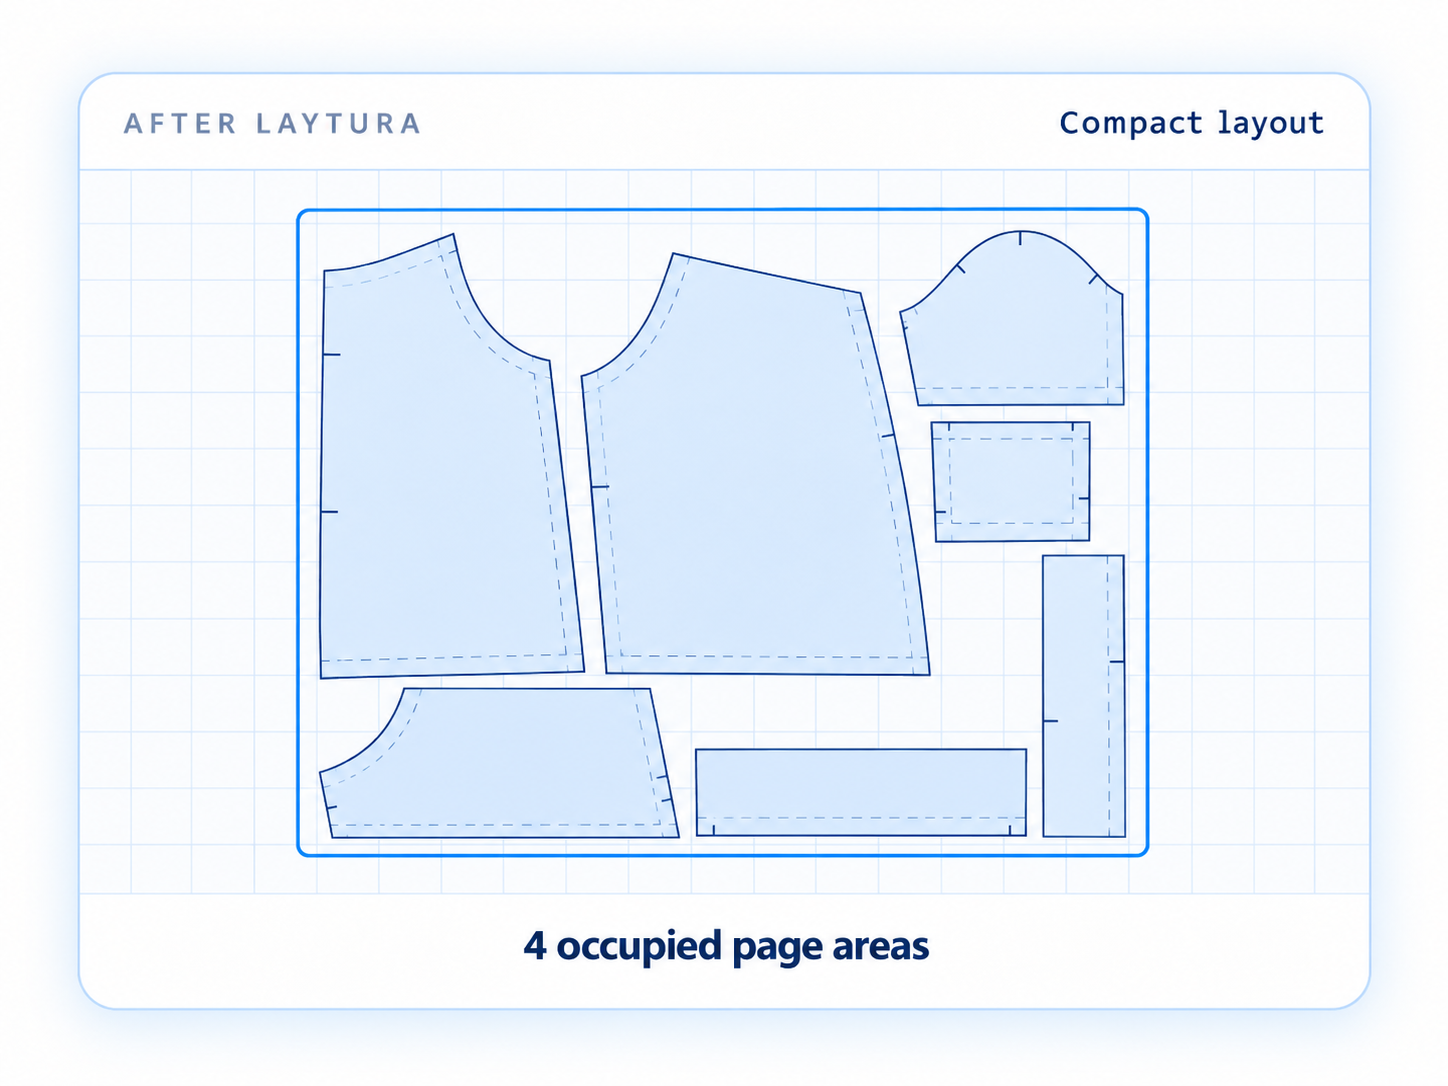
Static preview—ready for a future product clip
Common mistakes
- Optimizing before setting the target paper
- Ignoring grain, fold, or project-specific placement needs
- Judging by empty space without checking actual occupied sheets
Expected result
A reviewed layout that uses printable area more efficiently without changing the chosen scale.