Printing
How page overlap works in tiled patterns
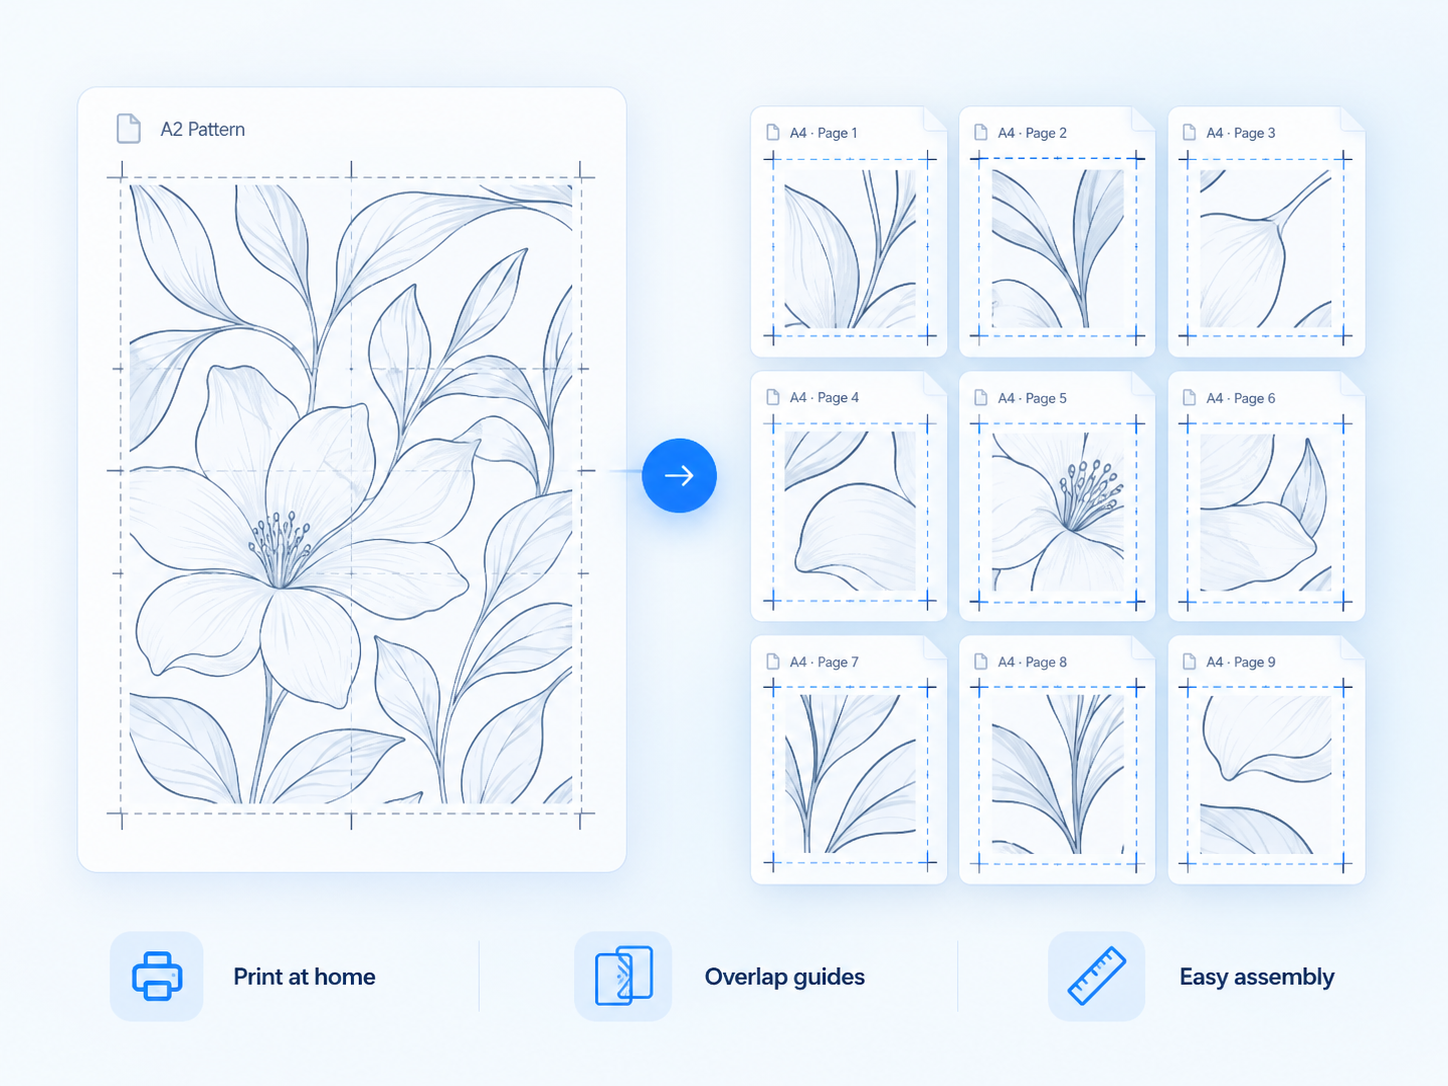
Overlap repeats a narrow strip of geometry on neighboring sheets so the pages can be aligned. It changes the assembly area and sheet count—not the pattern’s physical scale.
Before you start
- A tiled pattern prepared for your paper size
- Page labels or registration marks enabled
- Tape, a straight edge, and a ruler
Step-by-step
- 01
Choose an overlap
Use an overlap wide enough to align and tape comfortably without wasting excessive paper.
Static preview—ready for a future product clip - 02
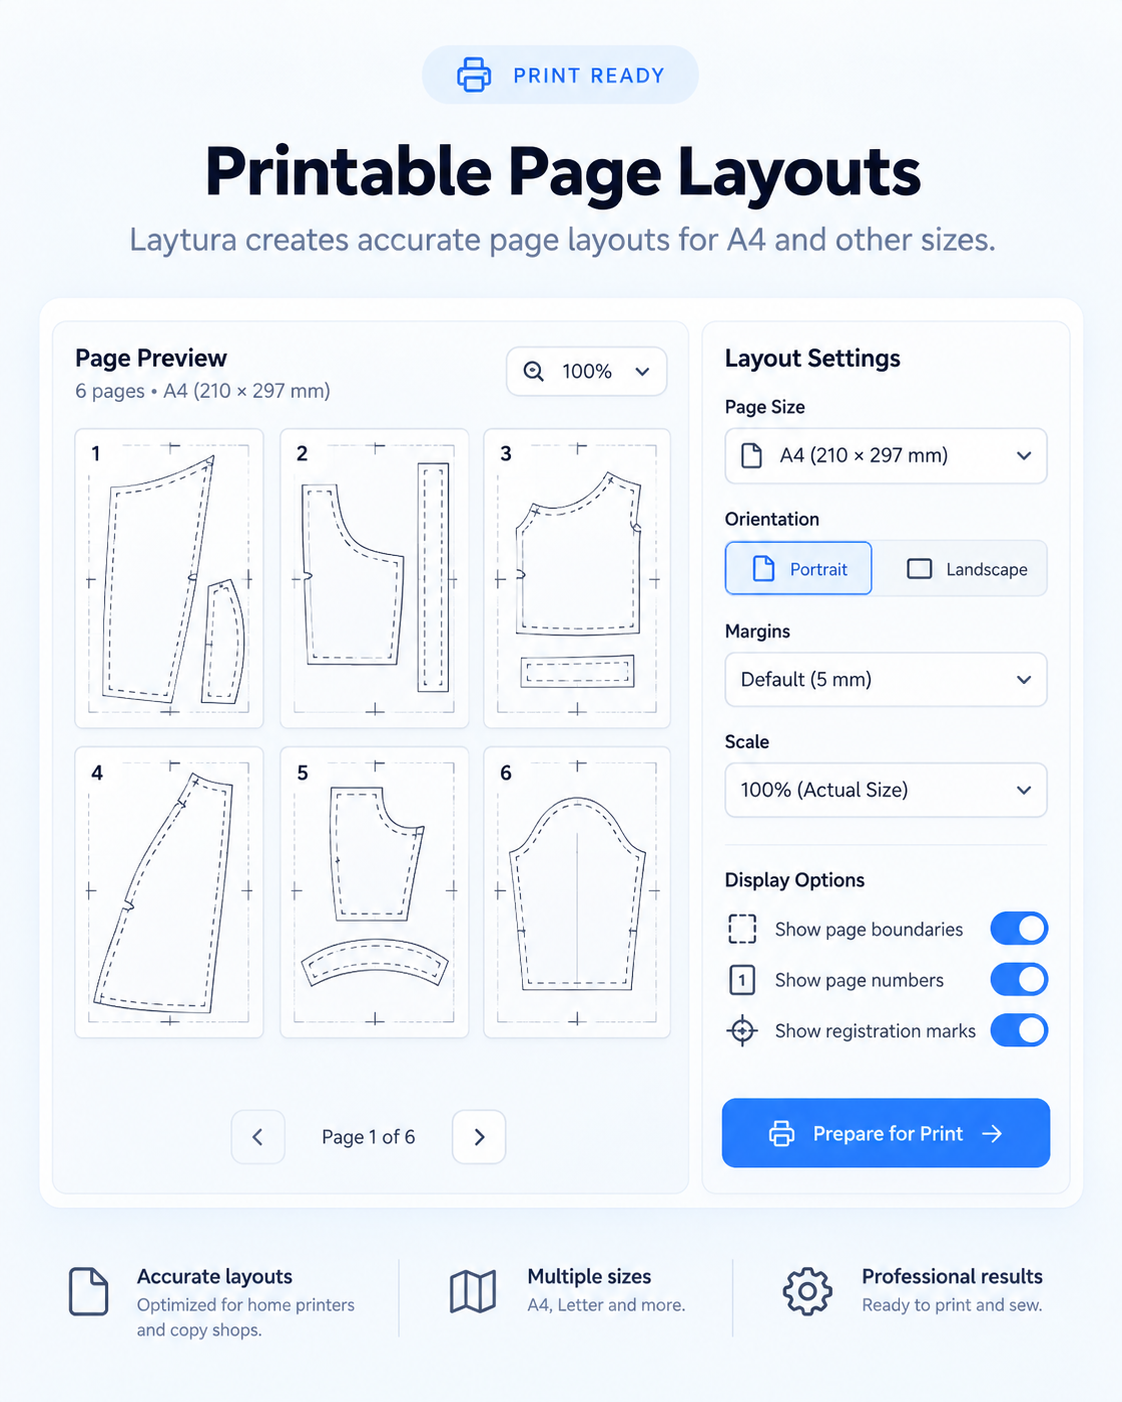
Preview neighboring sheets
Check that labels, registration marks, and repeated geometry appear consistently across page boundaries.
Static preview—ready for a future product clip - 03
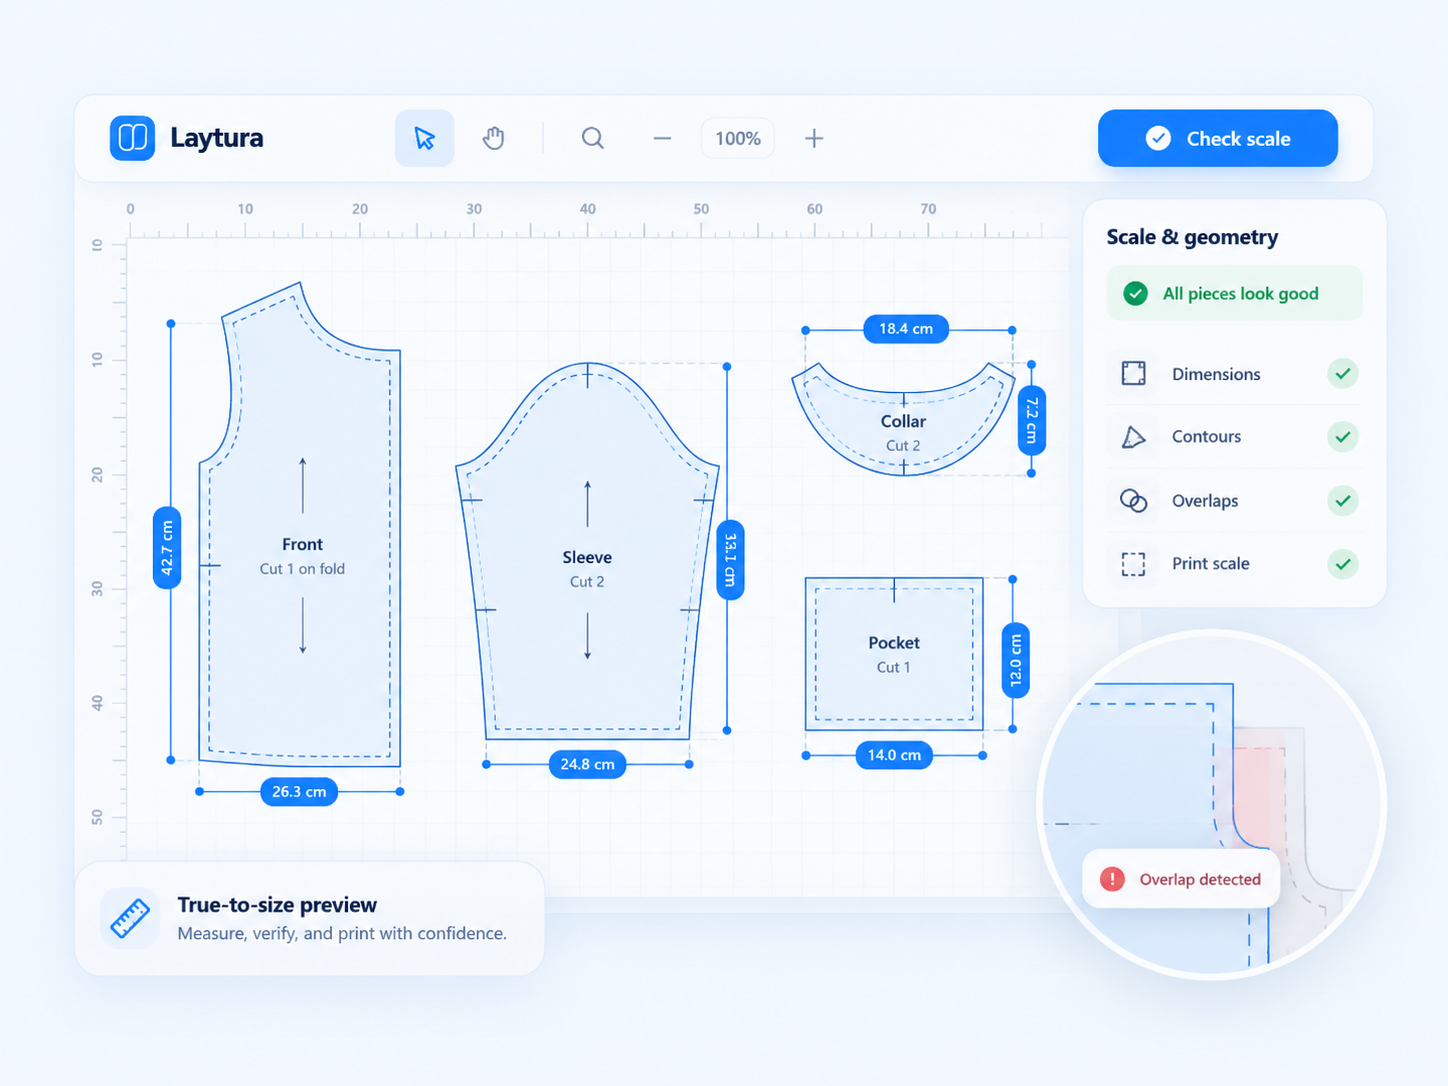
Print at 100%
Overlap does not correct printer scaling. Print the calibration page at Actual size before assembling the pattern.
Static preview—ready for a future product clip - 04
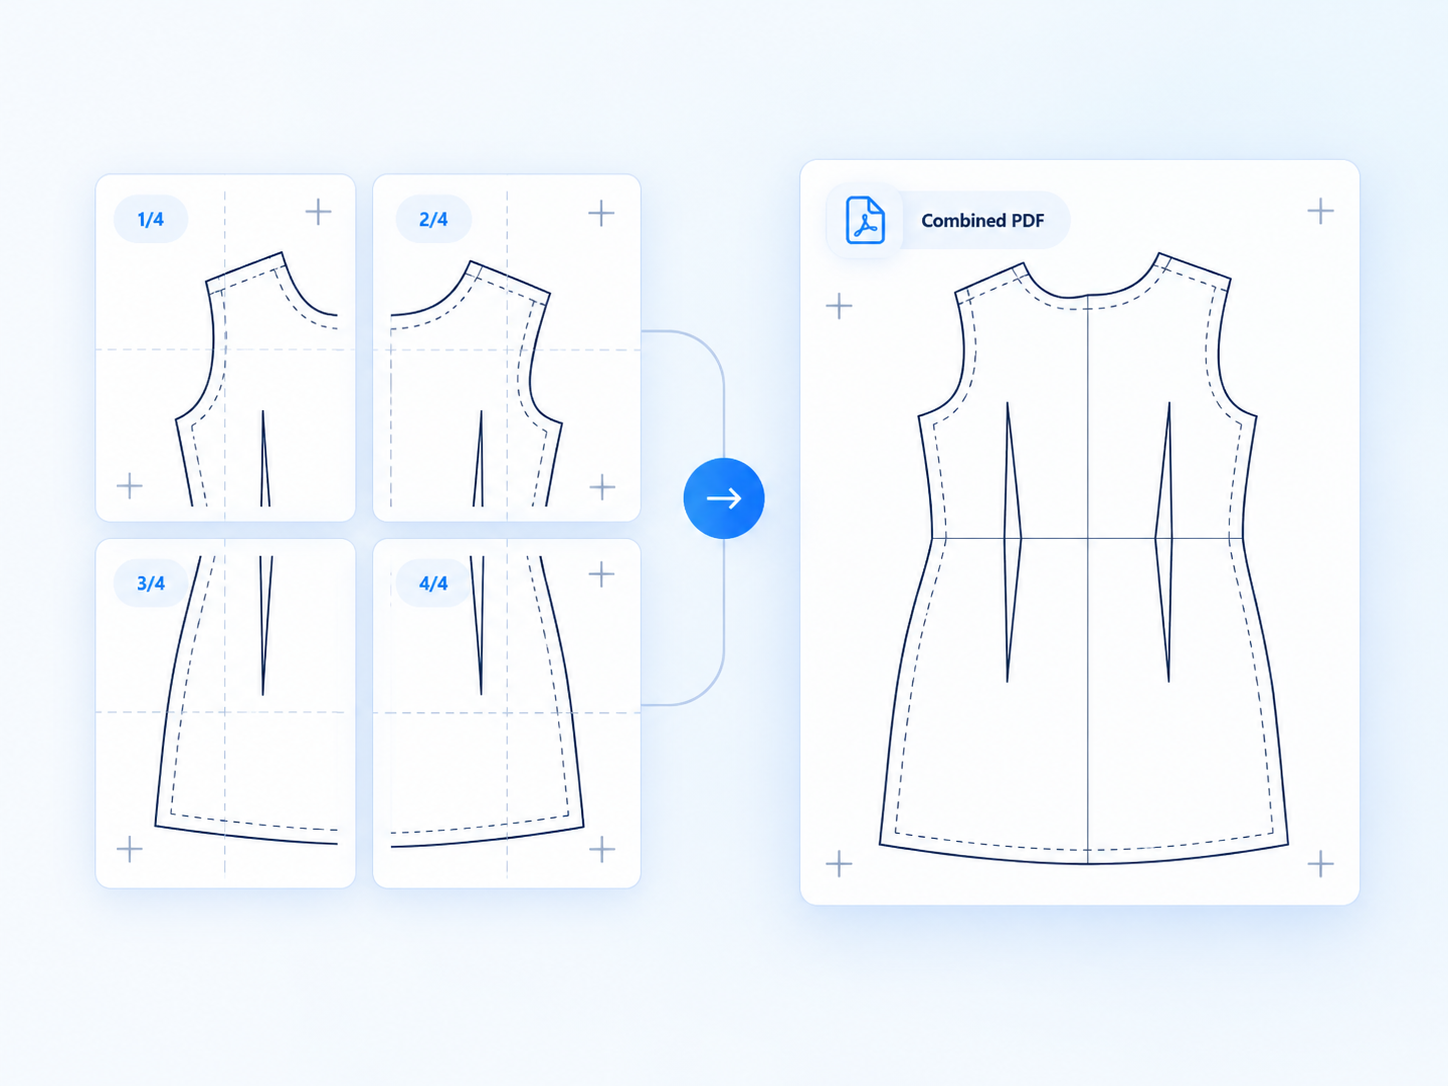
Trim one side and align
Trim the designated edge, match the repeated linework or marks, and tape without stretching the paper.
Static preview—ready for a future product clip
Common mistakes
- Trimming both sides of every join
- Mixing portrait and landscape output
- Assuming a larger overlap changes the pattern size
Expected result
A correctly scaled assembled pattern with continuous lines across every page join.