Troubleshooting
How to print a sewing pattern at 100% scale
A wrong test square normally means scaling happened during export or in the final print dialog. Check both before changing the pattern geometry.
Before you start
- The exported PDF
- The same paper size selected during preparation
- A reliable ruler
- Access to the PDF viewer’s print settings
Step-by-step
- 01
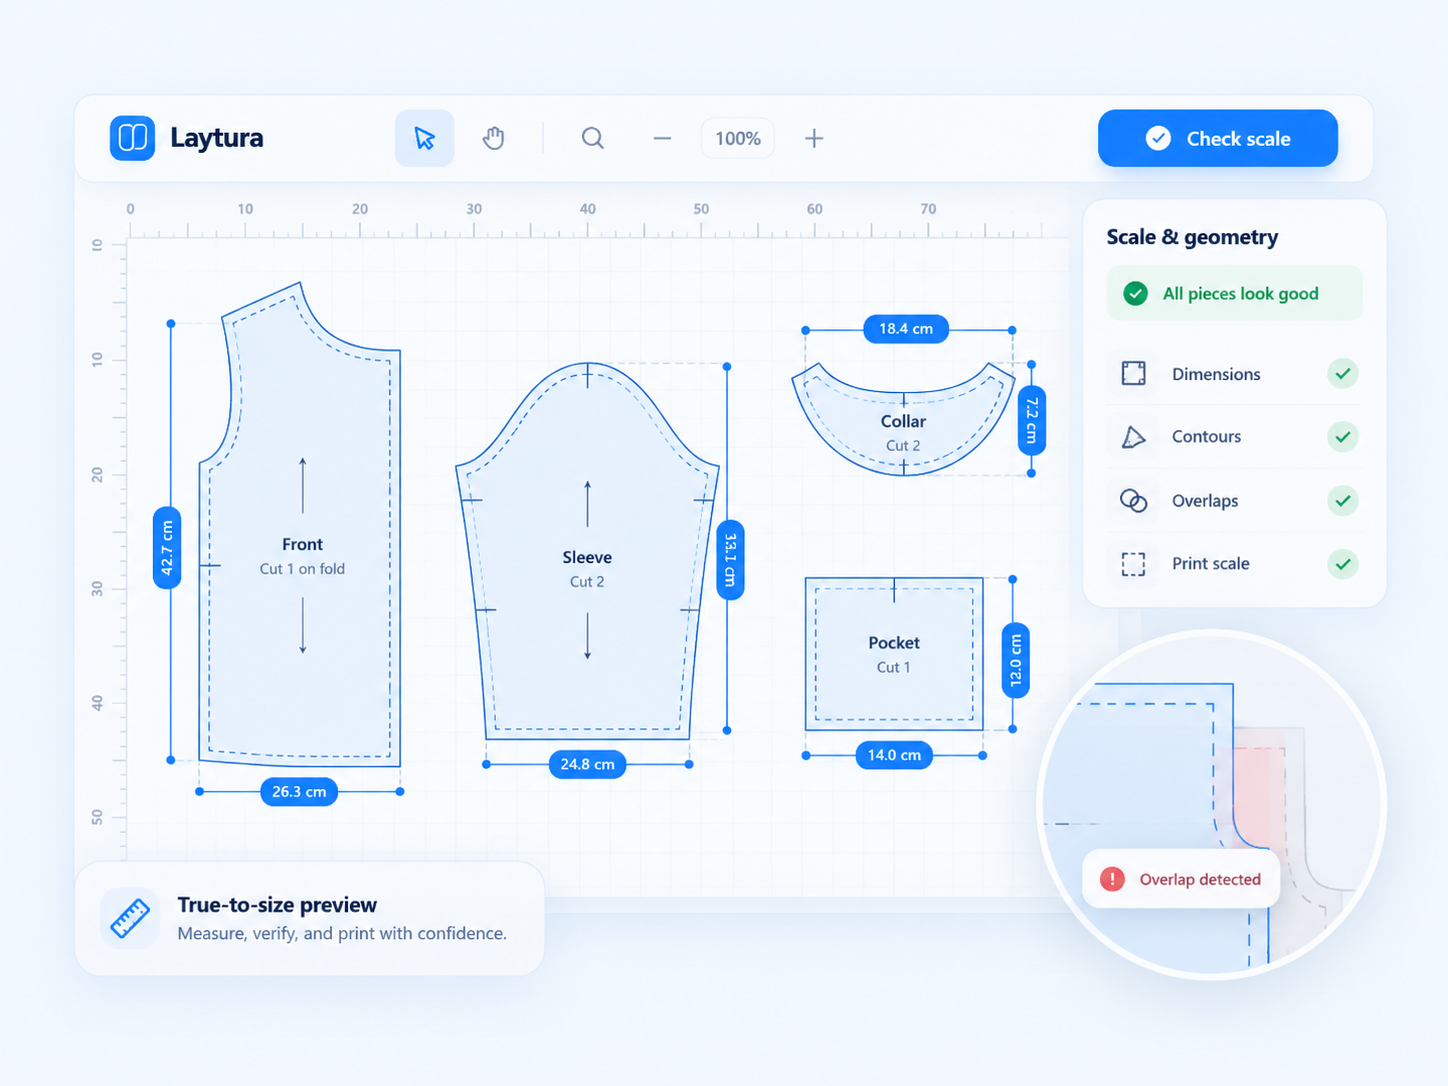
Confirm Laytura reads 100%
Keep the workspace scale at 100%. Changing paper size or orientation should change the sheet count, not the physical pattern size.
Static preview—ready for a future product clip - 02
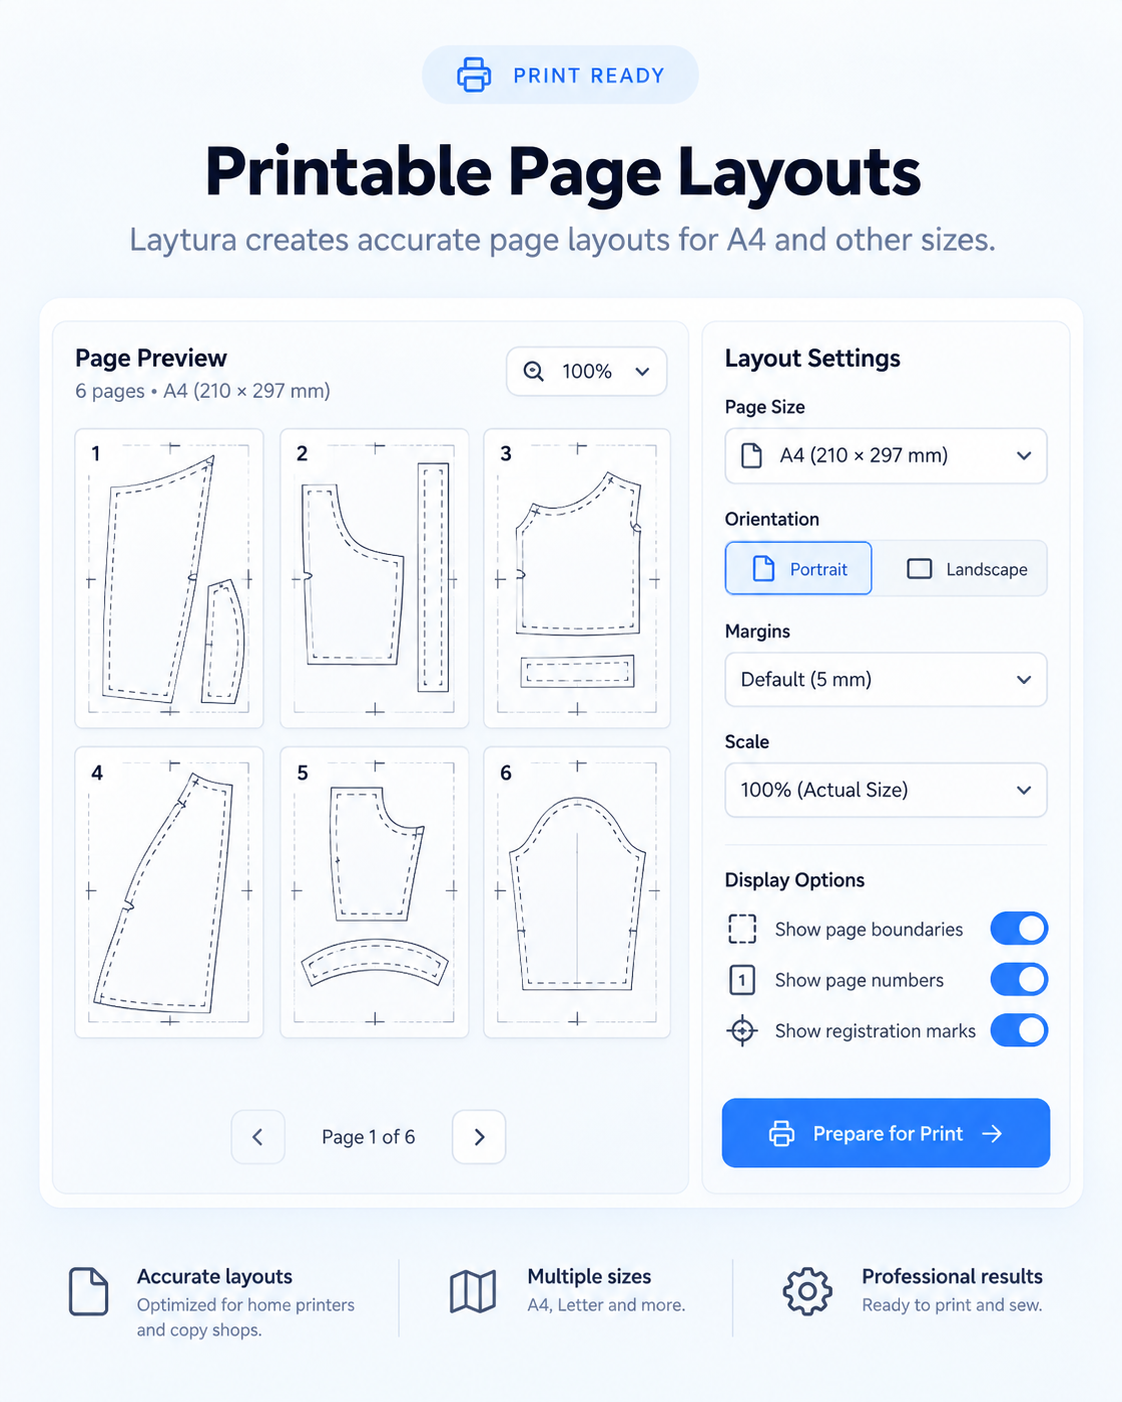
Choose Actual size
In the PDF print dialog choose Actual size, 100%, or No scaling. Turn off Fit, Shrink oversized pages, and booklet modes.
Static preview—ready for a future product clip - 03
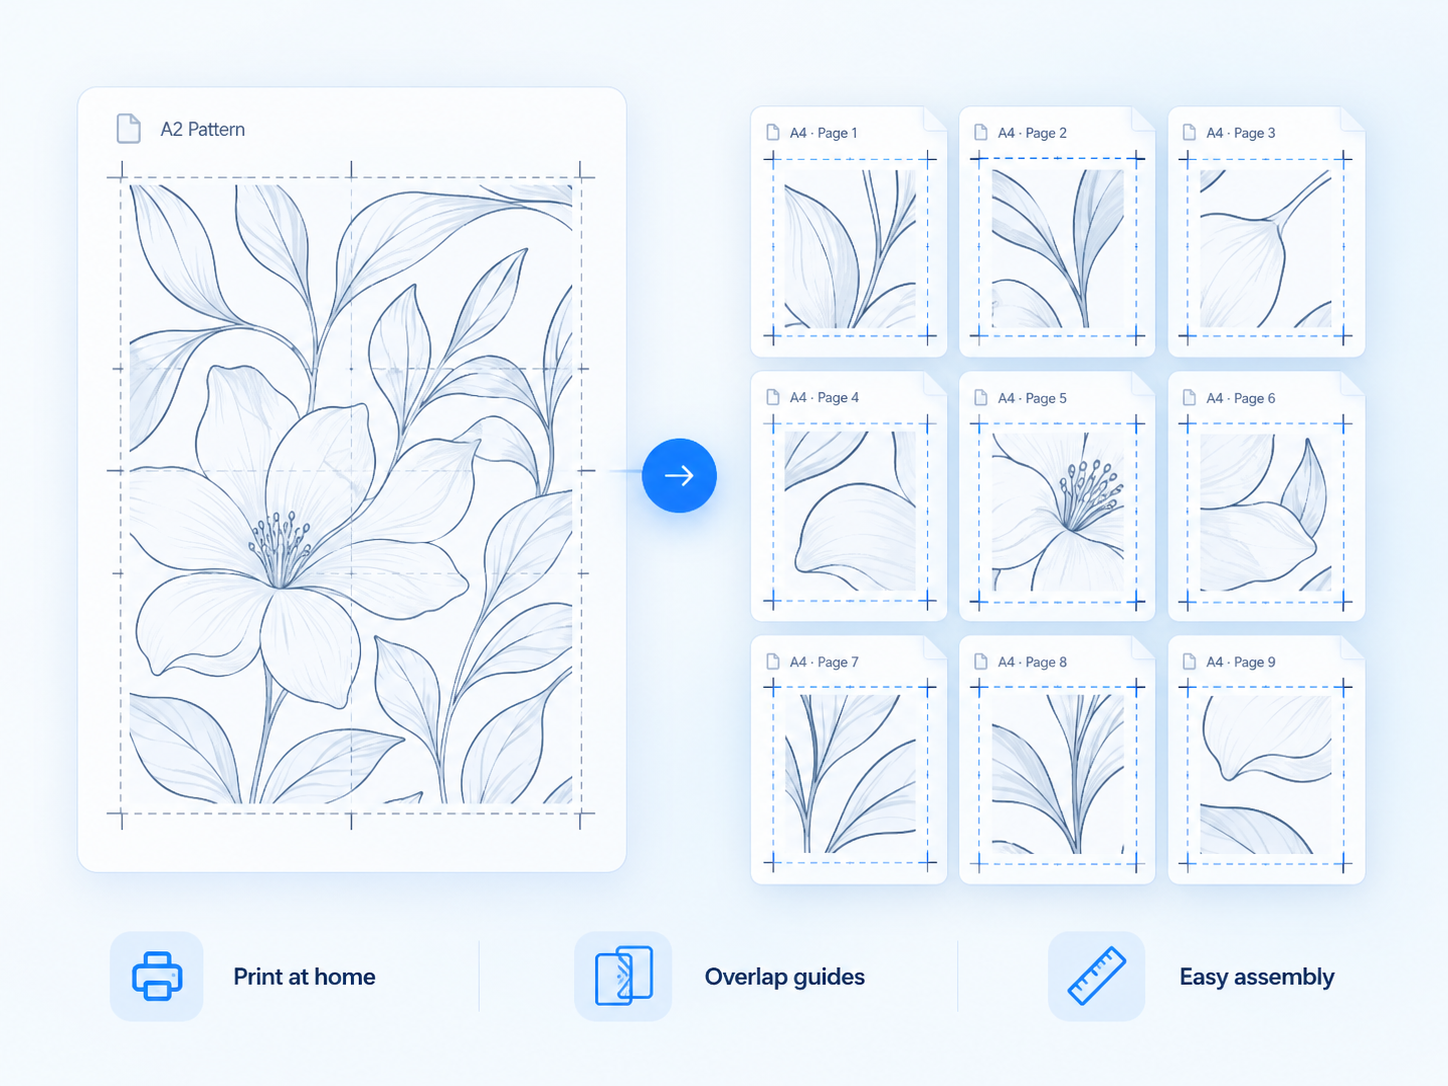
Print only the calibration page
Use the guide or scale-check page before committing to the complete set of sheets.
Static preview—ready for a future product clip - 04
Measure the marked distance
Measure the complete labelled line or square. If it is wrong, verify paper size and printer scaling before calculating any correction.
Static preview—ready for a future product clip
Common mistakes
- Measuring the border around a test square instead of the labelled distance
- Allowing the printer to choose paper automatically
- Using multiple-pages-per-sheet or booklet mode
Expected result
A calibration print that measures exactly as labelled before fabric is cut.